Let’s be honest – buying a used motorcycle can be exciting and terrifying at the same time.
Especially if you’re buying your first motorcycle.
On one hand, this is one of the best ways to get a deal on a motorcycle.
On the other hand, you also run the risk of being sold a ticking timebomb.
The truth is, a proper inspection can save you thousands of dollars and countless headaches.
Before we dive into the nitty-gritty, here’s what you’ll need for a proper inspection:
Essential Tools:
- YOUR EYES
- Flashlight (trust me on this one)
- Tire pressure gauge
- Basic multi-tool or screwdriver
- Clean rag or paper towels
- Phone with an internet connection (for VIN checks)
And if you’re checking out a bike with a lot of miles on the clock, make sure you check out our article on High-Mileage Motorcycles.
Quick Reference Checklist
I’m going to give you something I wish I had when I bought my first used bike – a comprehensive checklist that you can take with you.
Essential Inspection Points:
- Signs of Damage
- VIN check and documentation
- Engine cold start and warm operation
- Frame integrity check
- Tire condition and age
- Chain/belt condition
- Fluid levels and condition
- Electrical system function
- Suspension operation
- Brake system check
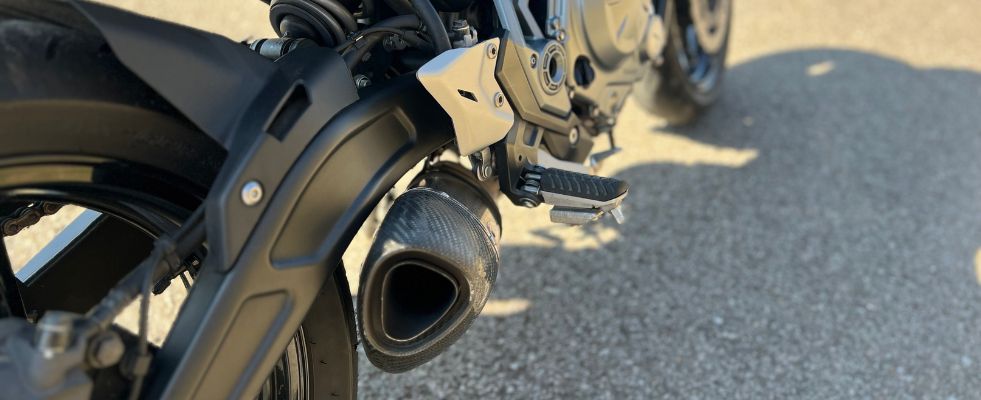
- Exhaust system inspection
Major Red Flags to Watch For:
- VIN tampering or mismatched numbers
- Fresh paint over structural areas
- Excessive smoke on startup
- Frame damage or welding repairs
- Oil leaks or burning smell
- Inconsistent maintenance records
- Mismatched tire brands/wear patterns
- Signs of crash damage (scraped cases, bent controls)
Used Motorcycle Inspection Checklist
Pro Tip: Save this checklist on your phone and create a notes section for each bike you look at. Trust me, after looking at a few bikes, they all start to blur together
1. Before You Go (Pre-Inspection Research)
Knowledge is power – before you check out that bike, do your homework.
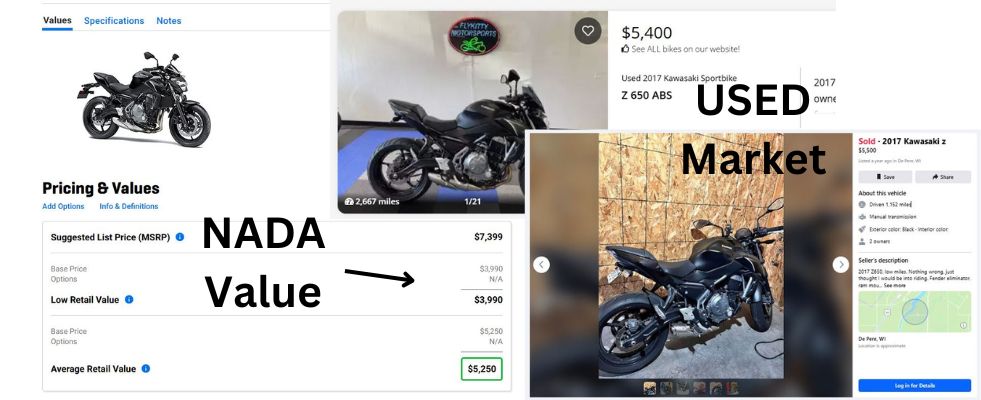
Market Value Research:
- Check NADA guides and local listings
- Factor in mileage and modifications
- Consider seasonal pricing (winter = better deals)
VIN Check:
- Run the number through databases
- Verify title status
- Confirm model year matches
Documentation Needed:
- Bill of sale template
- Title transfer requirements
- Insurance quote
- List of questions for seller
2. Initial Assessment (First Impression)
The first 5 minutes tell you a lot about both the bike and the seller.

Visual Overview:
Overall condition and storage
Modifications and their quality
Red flags (mismatched paint, zip ties, crooked badges
Documentation Review:
- Service records and maintenance history
- Ownership papers and VIN verification
- Insurance history
- Accident reports
Pro Tip: Take a few pictures of the bike and documents – you’ll need them later.
3. The Complete Inspection
Let’s break down exactly what to check before and during your test ride.
Cold Bike Check:
- Oil level and condition (look for metal particles)
- Fresh leaks under the bike
- Chain/belt tension and wear
- Battery terminals and voltage
- All lights and signals
- Wiring harness condition (no exposed wires)
- Frame straightness (especially near the steering head)
- Fork seals and rear shock
- Brake pad thickness and rotor condition
- Tire age, tread depth, and sidewall cracks
Startup & Test Ride:
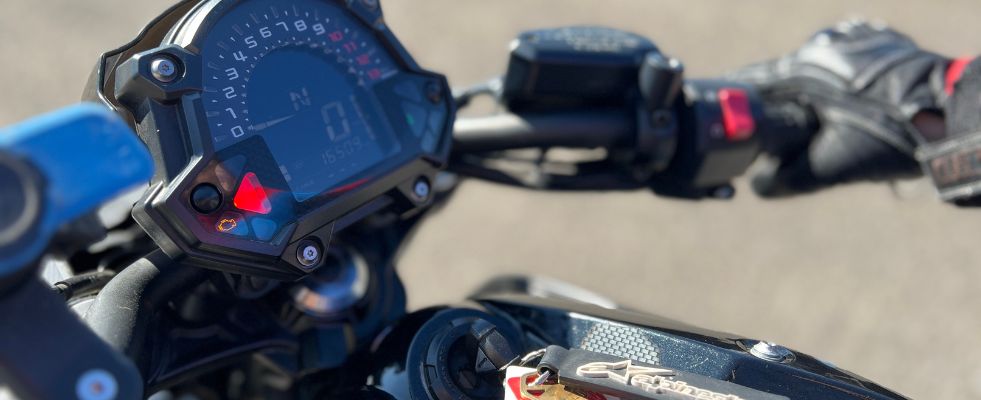
- Cold start behavior (shouldn’t need choke for long)
- Exhaust smoke color:
- Blue = oil burning
- White = coolant issues
- Black = rich fuel mixture
- Listen for unusual noises
- Check clutch engagement
- Test all gears
- Brakes feel and performance
- Steering alignment
- Suspension response
Pro Tip: Never skip the cold start – a warm engine can hide serious problems.
Red Flags During Ride:
- Excessive vibration
- Grinding noises
- Hard shifting
- Pulling to one side
- Spongy brakes
- Suspension clunks
4. Negotiation Points
Let’s talk turkey. Your inspection findings are your negotiating power.
This is really how you find good deals on motorcycles.

Key Negotiation Points:
- Maintenance due (timing, valves, etc.)
- Wear items needing replacement
- Non-stock modifications
- Service history gaps
- Market comparisons
If you are a new rider, these negotiating points are especially important because they become a part of your total motorcycle budget.
Walking Away Points:
- Frame damage
- Serious engine issues
- Missing documentation
- Sketchy VIN history
- Seller resistance to inspection
Pro Tip: Create a list of repair costs before negotiating and don’t forget to factor in the cost of a tune-up!
Post-Purchase Steps
You’ve got the bike – now let’s make it official and safe.

Immediate To-Do List:
- Transfer title and registration
- Update insurance
- Change fluids and filters
- Replace wear items found during inspection
- Document current condition
Common FAQs & Professional Guidance
When to Get Professional Help:
- Complex electrical issues
- Engine internals
- Frame straightness concerns
- Salvage title inspection
- Major restoration needs
Common Questions:
Q: How much should a pre-purchase inspection cost?
A: Expect $100-300 for a thorough professional inspection.
Q: What if the seller won’t allow a mechanic inspection?
A: Major red flag – consider walking away.
Q: How do I check for stolen bikes?
A: Use VIN check services and police databases.
Q: What documentation is absolutely necessary?
A: Clean title, maintenance records, and valid ID at minimum.
Pro Tips:
- Keep all inspection and purchase documentation
- Take dated photos of the bike’s condition
- Get everything in writing
- Consider joining owner forums for support
Good luck on your next motorcycle!
