
There is nothing like riding a motorcycle for the first time.
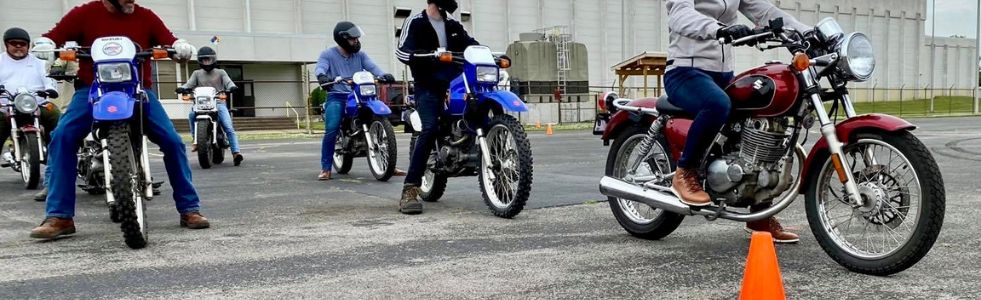
I still remember the first time I swung a leg over a motorcycle in the MSF course. That little 250cc could’ve been a rocket, ready to launch to the moon if I wanted.
But there’s a lot to learning how to ride a motorcycle. And even more to learn how to ride it safely and effectively.
Luckily the MSF course took a lot of the guesswork out of getting started.
Not only did we learn life-saving skills, we were able to learn how to ride step by step, starting with the controls and eventually learning how to shift and get up to speed.
Throttle, clutch, brake levers, and shift levers – it can all seem like a lot at first, but the MSF course was able to guide us through each function until we felt confident enough to move to the next – finally becoming riders.
But what if you aren’t planning to take the MSF course? What if you want to learn how to ride on your own in a safe manner similar to what the MSF course takes you through?
This guide is designed to help you do just that. My goal with this website is to inspire lifelong riders, and learning how to ride a motorcycle is where we start.
Before getting on the bike
Learning how to ride a motorcycle safely starts before you even swing your leg over the bike.
There are a few prerequisites to riding a motorcycle that even the most experienced riders follow.
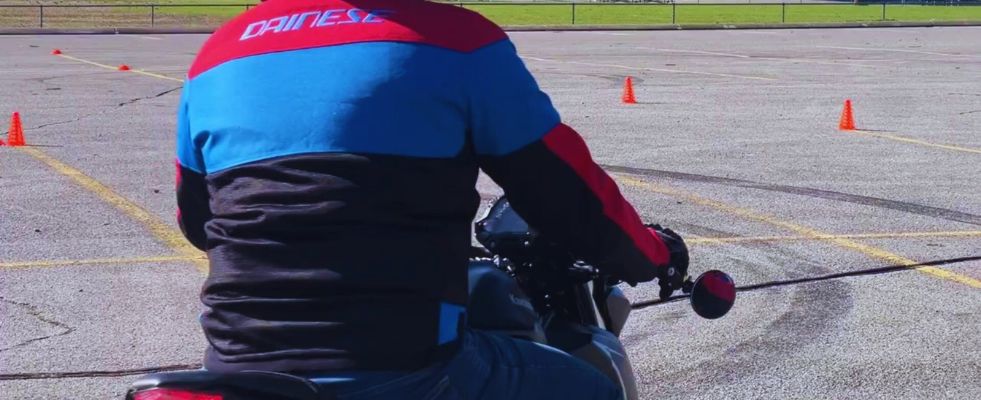
Make sure you have the right gear
First things first, you need to make sure you have all the right gear. I have an article on the essential motorcycle gear beginners need but I will list them out here as well:

- Helmet
- Boots
- Gloves
- Motorcycle Jacket*
- Motorcycle pants*
At the very least, you want to have a helmet, tall motorcycle boots, and motorcycle-specific gloves.
This is essential for new riders for a few reasons.
Helmets save lives and are a no-brainer, but not everyone is aware of the importance of motorcycle boots and gloves.
Tall motorcycle boots protect your legs in the event of a tip-over or fall, something new riders are prone to.
Motorcycle gloves offer protection but are also pre-curved, making it easier for new riders to build up the strength it takes to hold a throttle, clutch, and brake lever all day.
Understand the motorcycle controls
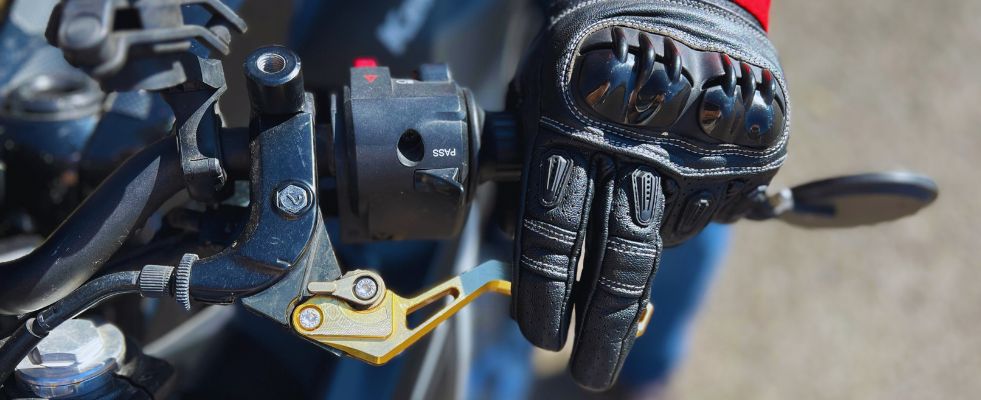
You should also have a firm grasp on the motorcycle controls before you decide to hop on for a ride. And I’m talking about more than just the throttle clutch and brake lever.
You should know how to operate and easily find things like the killswitch, horn, and headlights.
Not only are these things necessary for basic operation, but these are also the main controls you will use in the event of an emergency.
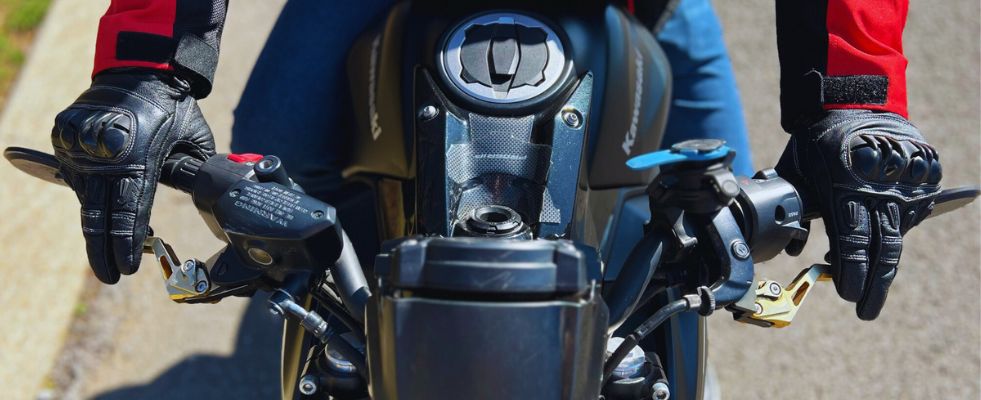
Your killswitch will kill all power to the engine, which can save your life in the event of a stuck throttle or issue with the engine.
Your horn is the way you interact with the world around you, signaling other drivers and helping you increase their awareness and your visibility.
Your lights can help you see on the road but also communicate with other drivers when you try to get their attention.
And this doesn’t include all the other controls you will use to interact with your motorcycle. Make sure you are comfortable with these controls before you need to use them.
For an even more detailed guide, check out this article on How to Master the Basic Motorcycle Controls.
Inspect Your Motorcycle
Even the most experienced riders inspect their motorcycle before each ride, and this is no different for beginners.
In fact, it is even more important that beginners do their pre-ride inspection on the motorcycle because of the risks involved if something were to go wrong.
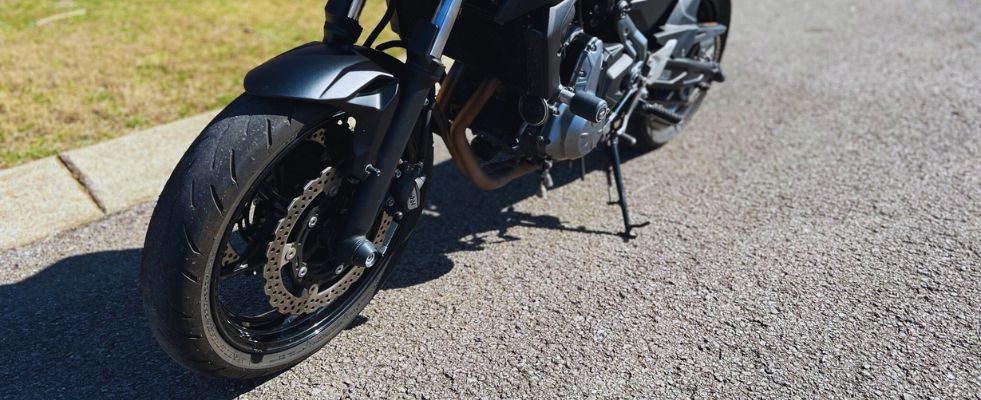
Luckily, the MSF course makes this easy to go over with a simple Acronym – TCLOCS.
- T- Tires & Wheels
- Check tread depth, wear, air pressure, and wheel condition. Having the correct air pressure is essential for a motorcycle to handle correctly and incorrect pressure can be disastrous. Check the manufacturer-recommended tire pressure on the swingarm and make sure to set it when the tires are cold.
- C- Controls
- Make sure the controls are all in good shape and operational. Your handlebars should be straight and the clutch and front brake levers should work without any resistance or catching. Check all your cabling for these controls too, things like your throttle clutch and brake cables.
- L- Lights and Electronics
- Make sure all the lights and electronics work. Test the killswitch by putting the motorcycle in neutral, starting it, and then hitting the kill switch to make sure it kills the engine. Test to make sure the horn and speedometer work, and lights too if you’re riding when it’s dark out.
- O- Oil and Other Fluids
- Check for any signs of leaking from the bike and make sure you have all your fluids. The first thing I always check is my oil, most bikes have a sight glass on the side where you can see if your oil is in good condition and within spec. Then I check my brake fluid and coolant if applicable. Oh yeah, and don’t forget the gas!
- C- Chassis
- Chassis inspection is quick and easy because you’re basically checking the frame, suspension, and screws. Of course, there should be no loose screws or bent chassis. Your suspension should work smoothly, front and back.
- S- Stand
- Finally, make sure your motorcycle stand is in good condition and feels stable when it holds the bike up. If it is bent, loose, or in bad shape, you may end up with a tip-over before long. Also, make sure deploying the stand kills the motorcycle similar to how the kill switch would. This is a safety feature you will use more than you think.
I know it may seem daunting to check your motorcycle before every ride, but it’s something you can quickly do that can end up saving your life.
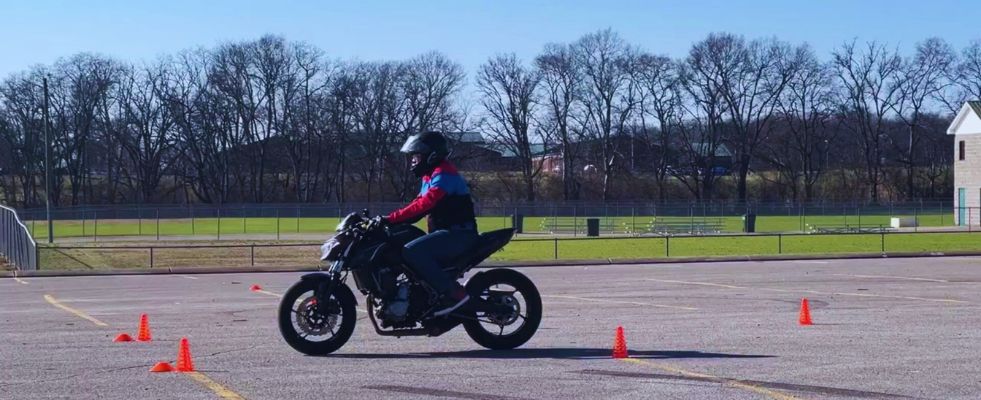
Mount the Motorcycle
Now that you have all your gear and have made sure the motorcycle is safe to ride, it is finally time to mount the motorcycle. Here are some tips for how to do it.
- Mount from the left side
Although you can mount from any direction, it is easiest, most comfortable, and most common to mount the motorcycle from the left side, where the bike is leaning on the kickstand.
- Hold the front brake as you swing your leg over
The first thing I grab when I mount my motorcycle is my front brake lever. This helps keep the bike stationary and steady as I mount up. This is also a huge help when you start to lift the motorcycle as it prevents it from rolling.
- Shift your weight to stand the motorcycle up
While holding the front brake, use your weight to shift the bike over and upright – off of the kickstand.
- Pull up the kickstand and “flatfoot” the bike
Finally, pull up the kickstand and put both feet down to steady yourself on the bike. If you can’t flat foot, keep your left foot down and hold the rear brake with your right.
Start the motorcycle
Next, it’s time to get the motorcycle started.
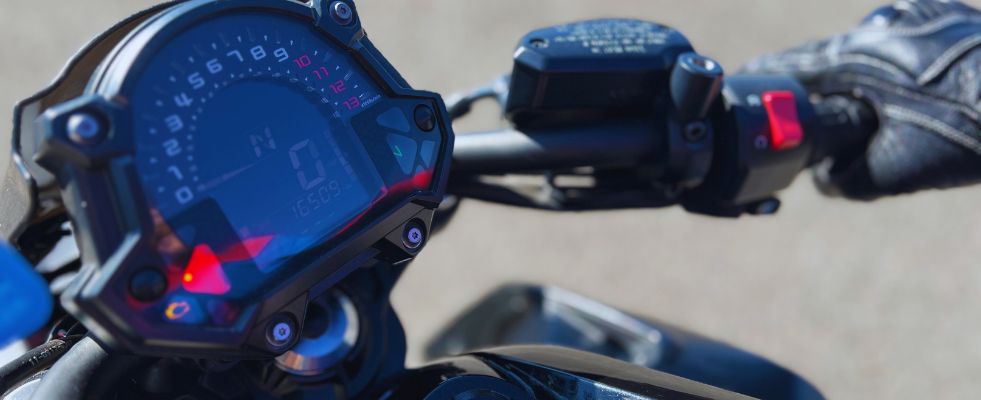
- Make sure the killswitch is set to On
- For some bikes it’s a button, for some bikes, it’s a switch, if it’s the latter, make sure it’s set to ON.
- Turn the key in the ignition to On
- Turn the key to the ON position and the dash should light up and signal the gear you are in
- Make sure the bike is in Neutral
- Before you ever start a motorcycle, make sure it is in neutral. If your dash doesn’t indicate the gear, push the gear lever all the way down to first and then half-click up to neutral.
- Pull in the clutch and hold it in
- Just in case, you should also pull in and hold the clutch before you hit the starter. Some bikes require this but its a safe bet to do just in case the bike is in gear and starts to launch as soon as you press the starter.
- Press the starter and watch the bike come to life
- Now for the fun part. With the clutch held in and the bike in neutral, it’s time to hit the starter and watch the bike come to life. Once it’s on, slowly let out the clutch to make sure it’s not in gear, and boom – you started the motorcycle. It’s always a good idea to let the engine warm up so listen for the idle to drop and watch the RPMs drop below 1kRPMs before cranking on the throttle. But if you can’t help yourself, go ahead and give the throttle a twist to hear that sweet exhaust note. Just make sure you’re in neutral!
Put the Motorcycle in gear
Are you ready to ride? I hope so because this is where we start.
It’s time to put the motorcycle in gear, which means shifting into first gear and getting ready to take off. But don’t be nervous, we are going to take things step by step.
- Pull in the clutch
- As always, pull in the clutch before changing gears on the motorcycle. And since you’re about to take off, keep it held in until you’re ready to add throttle in the next step.
- Push down on the shift lever to select first gear
- With the clutch held in, push down the gear selector to shit into first gear. You know you’re in first because you can keep pushing on the shift lever and it won’t shift into another gear.
Start to add throttle and release the clutch
Now comes the scary part, it’s time to start adding throttle and releasing the clutch. This is always a scary part for new riders as they are learning the delicate balance between throttle and clutch.
The secret is to be extra smooth on the controls, open the throttle as slowly as possible, and release the clutch as slowly as possible. Worst case scenario, you stall. But at least you won’t launch yourself into oblivion.
- Start to add slow but steady throttle
- Slowly start to add steady but gradual throttle. This is where a lot of new riders mess up as they think they need to add more throttle to get moving but really, it’s the clutch in the next step that you need to worry about.
- Slowly start to release the clutch
- As you add throttle, slowly start to release the clutch. The slower you release, the more controlled the bike will be. A lot of new riders end up stalling because they release the clutch too quickly and think they need to add more throttle next time. This can be disastrous. Instead, just focus on releasing the clutch even slower next time. Believe it or not, most motorcycles can get going without any throttle, the trick is all in how slowly release the clutch. Remember that the clutch is your savings grace, if things start to get out of control, you can always pull in the clutch to kill power to the engine.
If everything was done right, you should be starting to move at this point. But don’t freak out and make sure you take it slow.
The trick with this step is not to rush it. I don’t care if your friends are yelling for you to get going, take your time and get a feel for the clutch and throttle before adding more throttle.
Walk the motorcycle using the clutch and throttle
Now that you are releasing the clutch and the bike is starting to move, don’t give it any more throttle!
You still have to practice learning the dance between the clutch and throttle and to do that, we are going to do the same thing we did in the MSF Course – we’re going to “walk” the bike using the clutch and throttle.
- Use the clutch and throttle to “walk” the motorcycle
Keeping your feet on the ground, add enough throttle and clutch action to get the bike moving at a walking pace. Instead of taking off immediately, see if you can “walk” the bike. Pull in the clutch and let off the throttle to stop the bike and then see if you can get back moving at a walking pace again. Do this a few times and you will start to get the hang of the clutch and throttle before getting up to speed.
Pull in the clutch and stop smoothly using the front brake
If you did a few minutes of “walking” practice, it is time to add braking. In case you didn’t know, 70% of your braking force comes from the front brake. By learning how to stop safely and control the front brake, you will be ready to start gaining speed.
But first, practice stopping smoothly with the front brake.
- Start to use the front brake to stop the motorcycle
- By this point, you’re still walking the bike, but instead of stopping by letting off the throttle and pulling the clutch, you will now do all of that and add the front brake. Instead of trying to stop fast, focus on making your initial pull on the brake lever as soft as possible. Try to stop without making the suspension dip on the initial pull or “bounce” when you finally stop.
Practice Starting and Stopping smoothly
The first braking practice was only the front brake, now we are going to add the back brake and teach you how to stop safely and efficiently. Although the back brake only provides 30% of braking force, used in conjunction with the front brake, you will stop a lot faster and more smoothly.
After walking the bike, you should be comfortable gaining a little more speed. Try not to go over 15mph and continue with these next steps.
- Pull in clutch, roll off throttle, and use both front and back brakes to stop the bike
- Just like before, let off the throttle, pull in the clutch, and apply both brakes with even and gradual braking pressure. Remember not to brake as hard with the back brake, as it is more prone to sliding out. Focus on being smooth before stopping quickly.
- Keep your foot on the rear brake until you take off
- Once you are stopped, keep pressure on the rear brake and release it as you start to take off. Not only does this help with smooth braking and takeoffs, it will help you get comfortable using the back brake when we practice the slow-speed drills.
- Bring both feet back to the pegs and continue practicing stopping and starting again
- Once you release brake pressure and start moving again, bring both feet up to the pegs. Get up to speed and then start to brake and stop again. Remember, you are focusing on being smooth on the brakes right now, not focusing on how fast you stop.
Take your time and practice starting and stopping until you feel comfortable and are stopping with control.
And if you are looking for some tips and tricks, check out this article on How to Stop and Takeoff Smoothly on a Motorcycle.
Which foot goes down first on a motorcycle?
This is a good time to talk about one of the common questions new riders have, and that is which foot to put down first at a stop.
It is a good habit to put your left foot down first when stopping your motorcycle.
This allows you to keep your right foot on the brake to help you stop more smoothly and to keep your brake light on, signaling to drivers behind you that you are slowing down.
With the left foot out, you can easily balance the motorcycle as you come to a stop.
Once stopped, it is also a good habit to keep your right foot on the brake instead of holding the front brake.
This keeps your brake light on for drivers coming up behind you, and it prevents the motorcycle from ‘tucking” under a car if you get rear-ended.
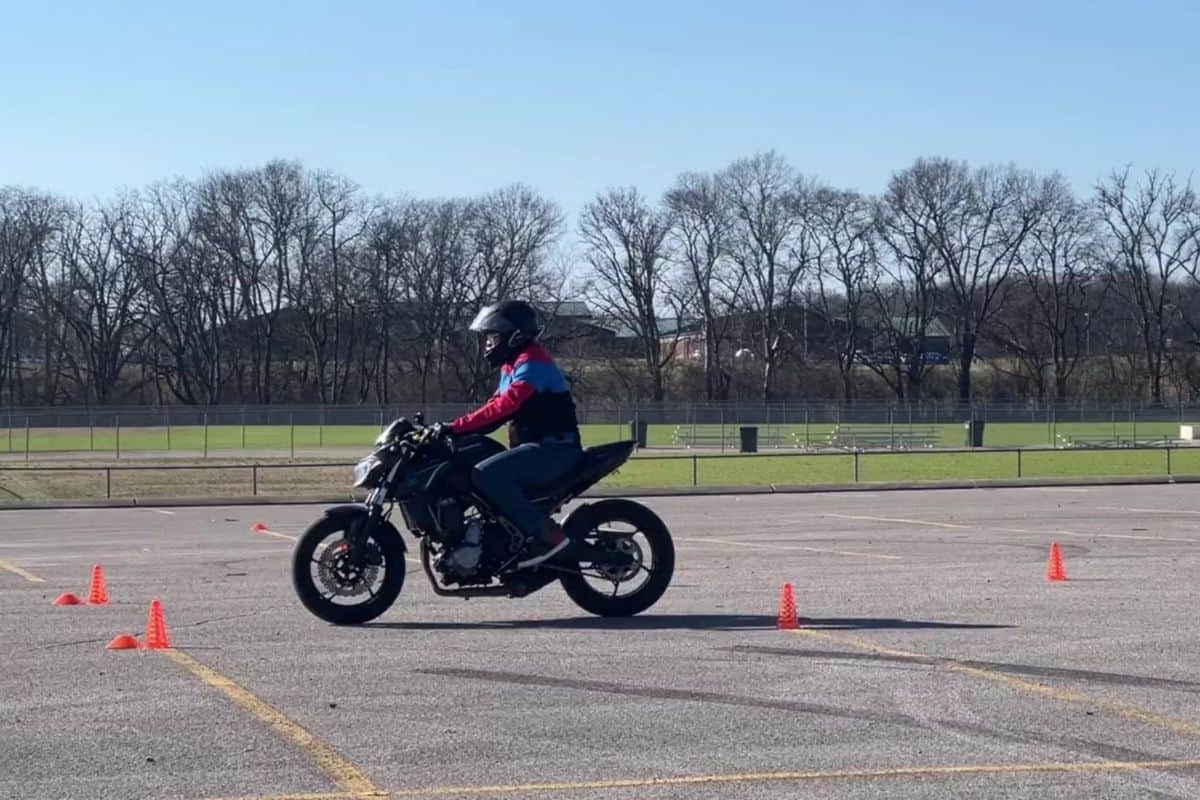
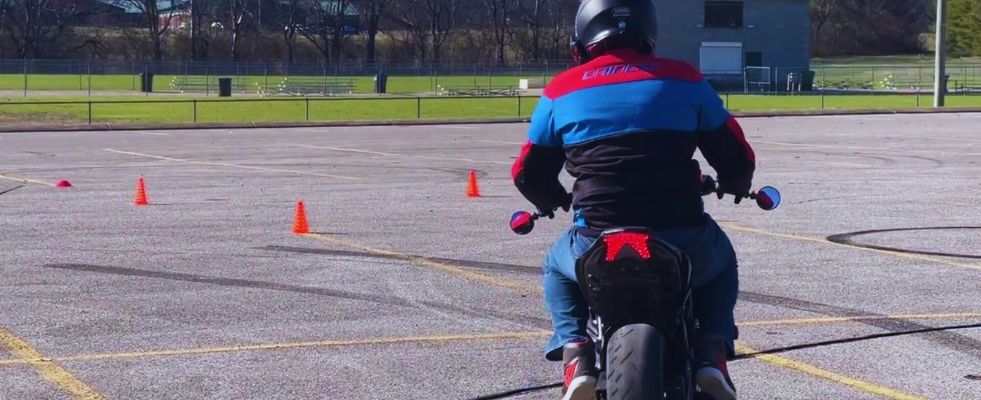
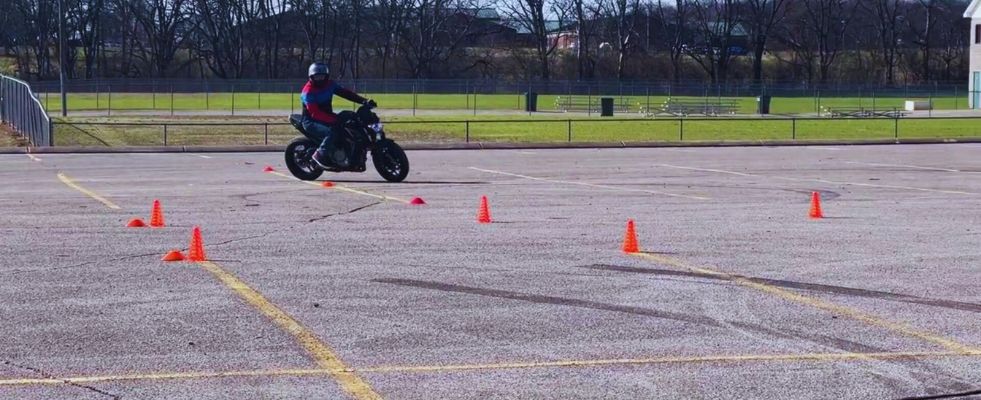
Practice Turning
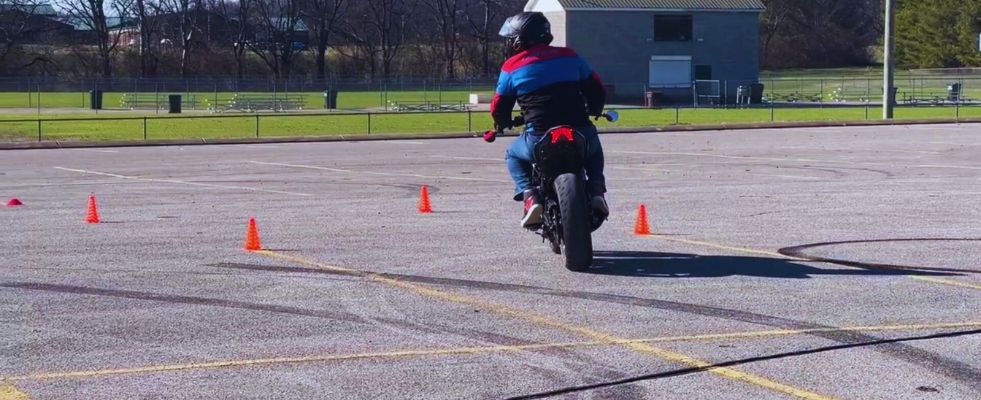
Now that you are comfortable starting and stopping, we can break into one of the easier drills – turning practice.
This is where you learn the secret to turning on a motorcycle – looking where you want to go and countersteering.
Countersteering is the technique used when traveling above 10mph, where you push the handlebar in the opposite direction of your intended turn. It initiates lean and helps you turn in the direction you want to go. Remember: push right to go right!
But don’t freak out if countersteering is a new concept. It is surprisingly natural and something you already do if you’ve ever ridden a bike.
- Practice taking wide turns 10mph or above
- In a parking lot or on an empty road, practice taking wide turns at 10mph or slightly above. Train yourself to look through the turn and to trust your bike. Feel how you turn the bars when you initiate the turn. Make sure you practice turning in each direction. Once you start to feel comfortable with wide turns, it’s time to slow things down in the next exercise.
- Practice doing slow speed turns less than 10mph
- Again, in a parking lot or on an empty road, practice turning at slow speed. This will introduce you to the technique of counterbalancing. When you are turning at slow speed, the motorcycle does not want to stay up as well and you will need to counterbalance in order to stay upright. This also teaches you how to manage the friction zone even better, as the motorcycle will balance best with some throttle. A good tip during slow-speed practice is to “drag” the rear brake. This will help you feel more in control of the bike and can also help you regulate speed while keeping the throttle and clutch settled.
Again, take your time with these steps and practice, the skills you learn during these drills will help you become a better rider later down the road.
Practice Shifting Gears
Ready to start getting up to speed? Good, because now we learn how to shift.
This is another thing new riders struggle with at first, but you will be surprised how easy it becomes with a little practice.
For a detailed breakdown, check out this article on How to Shift Gears on a Motorcycle. It goes into how to shift, how to know when to shift, and how to get better at your shifting
The guide above goes into a little more depth, but you can easily get up to speed by following the steps below.
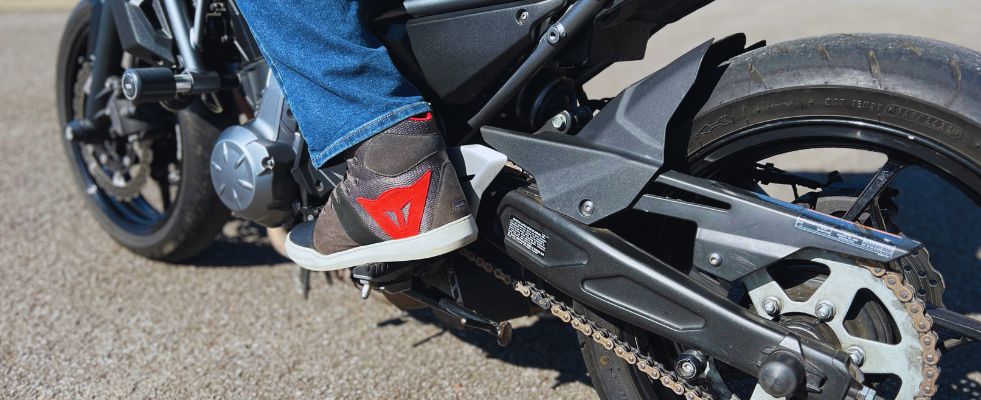
- Practice Upshifting
- Roll off the throttle to reduce engine RPM.
Pull in the clutch lever fully with your left hand.
Lift the gear shift lever up with your left foot to select the next higher gear.
Release the clutch lever smoothly while simultaneously rolling on the throttle to increase engine RPM and engage the new gear.
- Roll off the throttle to reduce engine RPM.
- Practice Downshifting
- Roll off the throttle and apply the brakes if needed to reduce speed.
Pull in the clutch lever fully with your left hand.
Press the gear shift lever down with your left foot to select the next lower gear.
Blip the throttle (a quick twist of the throttle) to match engine speed to the lower gear.
Release the clutch lever smoothly to engage the new gear while managing the throttle to ensure a smooth transition.
- Roll off the throttle and apply the brakes if needed to reduce speed.
Once you get the process down, shifting is very easy. You just have to work on getting smoother and smoother with it.
Try to get to where you shift without “upsetting” the motorcycle or causing the engine to lug.
Continue to Practice Stopping Smoothly
By this point, you basically already know how to ride a motorcycle, but we are going to make sure you know how to ride it safely.
And to do that, we are going to break back into braking practice.
If you followed the steps so far, you should be getting comfortable gaining speed. And since you are going faster, you need to know how to stop at these higher speeds.
- Get up to 20mph and brake smoothly but quickly
- Get up to 20mph, and look ahead to pick a point where you will start braking. Once you reach the spot where you start braking, smoothly start to brake and gradually increase brake pressure until you’re stopped. Pay attention to how far you travel until you stop and then go again. Keep focusing on that initial pull on the front brake lever, that initial 5% percent of braking pressure should be applied in 1% increments before you start adding more brake pressure. Once you start to get softer and smoother with that initial pull on the brakes, its time to focus on stopping in a shorter distance.
This is essentially emergency braking practice since you are braking at a higher speed and trying to slow down quickly. Remember to be smooth on the initial pull on the brake lever but once that suspension dips and the tire is loaded, you can add a lot more braking pressure than you think.
Again, for a more detailed breakdown of how to stop smoothly and effectively, check out this article on How to Stop and Takeoff Smoothly on a Motorcycle.
Improve your skills
By this time, you have built up the skills you need to ride a motorcycle.
But you also still have a lot to learn.
Riding a motorcycle is a constant learning experience, as you continue to get better, more smooth, and more comfortable with the bike.
Don’t make the mistake of thinking you have learned all you need to know. Even the most experienced riders continue to improve their skills and so should you.
Keep practicing some of the skills in the guide like shifting and emergency braking, turning, and looking where you want to go. Take a motorcycle course or practice some of the drills Motojitsu has on his Youtube.
All the skills you learn are on a continuum, where you continue to get better and better the more you practice.
And if you are feeling impatient and are ready to get out on the road, make sure you check out this article on Riding Your Motorcycle on the Road for the First Time.
Common Questions
Just like most new and aspiring riders, I had a list of questions when it came to learning how to ride, and I’m sure you do too. In this section, I will go over some of the common questions new riders have and hopefully answer some of yours as well.
How quickly can you learn to ride a motorcycle?
Most people can learn to ride within a few hours. This includes the basic motorcycle controls but also how quickly you get comfortable with them. In fact, the MSF course teaches you how to ride really well within just 2 days – and that is split between classroom time and actual practice on the bike. By following the steps in this guide, you will be riding in no time.
What is the easiest type of motorcycle to learn on?
I found that the easiest motorcycles to learn on are cruiser-style motorcycles and dual sports. Cruisers have a relaxed riding position that is more comfortable and confidence-inspiring than most types of motorcycles. They also have more “balanced” gearing, making the bike more predictable to control. Dual sport motorcycles are also a great option to learn on, as they give you a similar experience to riding a bike. Dual sports have a comfortable and natural riding position, as well as more balanced gearing for better control and feel.
Do you need balance to ride a motorcycle?
You need a certain level of balance to ride a motorcycle but this is something just about everybody can learn. Once you get up to speed, the motorcycle does most of the balancing for you but if you don’t feel like you have good balance, try practicing on a bike before moving on to motorcycles.
Conclusion
This article had quite a bit of information but I hope it helped you learn how to ride a motorcycle.
Make sure you take your time and really understand each step before moving on to the next.
Good luck and I hope to see you out on the road. Have fun and ride safe!