When you finally start filming MTB videos, it can feel a little overwhelming at first.
Messing with the settings on your GoPro, getting all the right equipment, and finally, finding the best angles to film from.
Whether you’re trying to upload videos to YouTube, or simply capture footage for your own use, here are the best angles for Filming MTB Videos.
First things first, there are essentially two ways to capture MTB footage. POV and Non-POV.
POV – POV footage can provide a more immersive feel and is usually loads easier to capture. The only drawback to POV is that it’s rather limiting, and can become very boring after a few minutes of constant footage.
Non-POV – Non-POV is really straightforward and self-explanatory. Adding non-POV shots is a great way to mix it up and tell a more interesting story. The only challenge with non-POV is finding good angles to shoot from.
POV Camera Angles
Unless you’re a professional Mountain Biker, most of your MTB footage will come from POV shots.
Since the line between limiting and immersive can be thin at times, it’s best to make sure you use the best camera angles possible.
For a full description of the best mounting positions for GoPro, check out this article. I will also give a quick rundown here, as the mounting positions dictate the camera angles you can use.
1. Chest –
The camera angle from Chest Mount is one of the best, as it gives you the perfect view of the action. Some consider the camera angle from the chest to be one of the most immersive as well, putting the rider, trail, and environment all in the frame at the same time. Check out the view of the camera angle below:
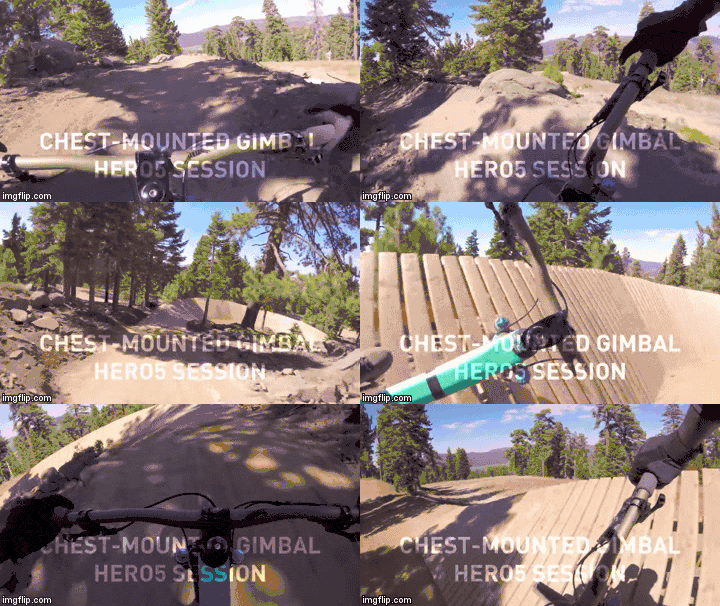
The chest also acts as a stabilizer when you’re riding over bumps and jumps, however, the movement of the camera is also limited to the movement of the chest.
2. Chin Mount –
This next one requires a full-face helmet; however, the rewards give you a camera angle that rivals chest-mounted cameras.
The camera angle from a Chin Mount has all the benefits of a chest mount, with additional stabilization from your head and the ability to pan the camera where you’re looking.
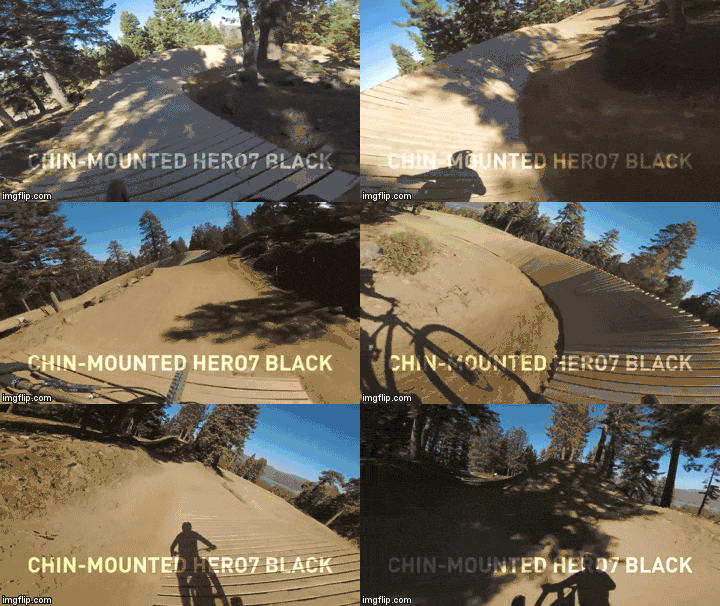
Again, this is really only an option if you use a full-face helmet.
3. Handlebar Facing Backward –
Something you see a lot in professional videos, having the camera face the rider is one of the best and most creative angles to use when filming MTB videos. A great way to do this is by attaching a handlebar mount and then facing the camera back at yourself. Check out the shot below to see how it cool it looks:
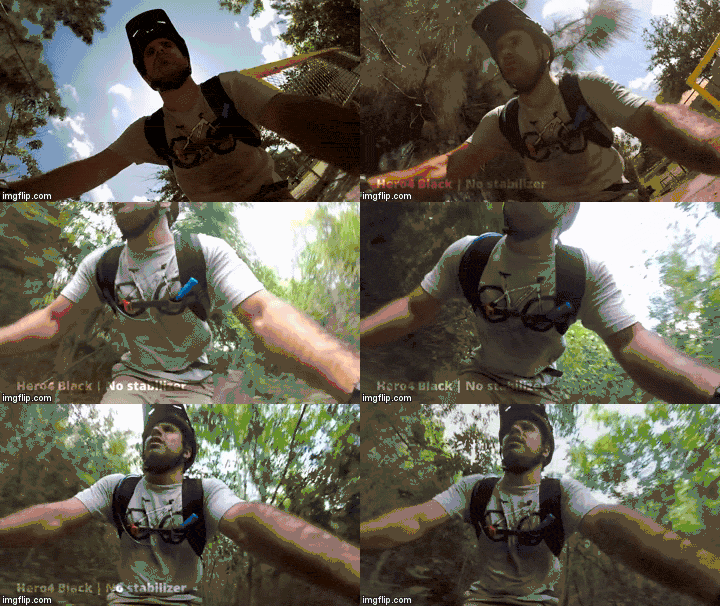
The main problem with this setup though, is how bumpy the ride usually is for anything mounted to the handlebars. If you have a GoPro Hero 8 with the Hypersmooth Stabilization, this may not be a problem, for the rest of you, make sure you use these shots for short clips in your video.
4. Seatpost Facing Backwards –
Coming from filming yourself, you can also get good MTB footage from filming your fellow riders. A good way to do this is by attaching a seat post mount to your bike and then facing the camera back towards the trail behind you.
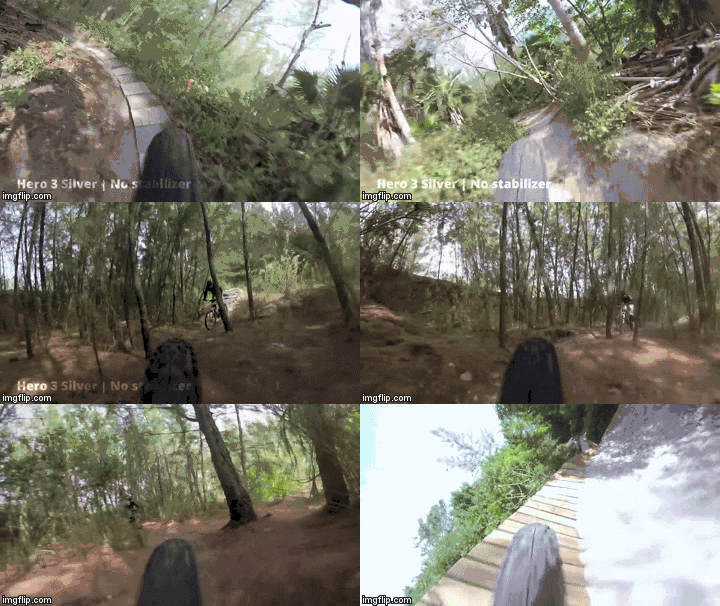
This is a great camera angle to switch it up, however, it works best when you have a friend riding behind you.
5. Helmet Facing Backward –
Taking things back to filming yourself, I have seen some really cool angles from Helmet mounted cameras.
If you have some kind of extension pole, you can extend the camera in front of yourself and then face it backward for some really cool shots of you riding. Blake from GMBN is known for his “unicorn mount”, shown below:
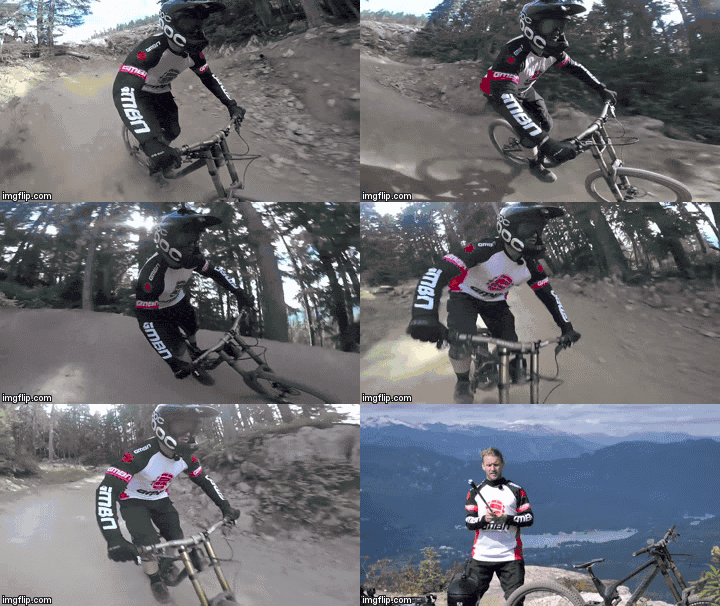
This is another camera angle where you can throw in a few shots to mix up your edit.
6. Helmet Side Mount –
I swear I’m not biased toward Helmet mounts; however, you can really get some good camera angles for self-shots.
Rounding off the best POV camera angles for Mountain Biking, you should try mounting to the side of your helmet.
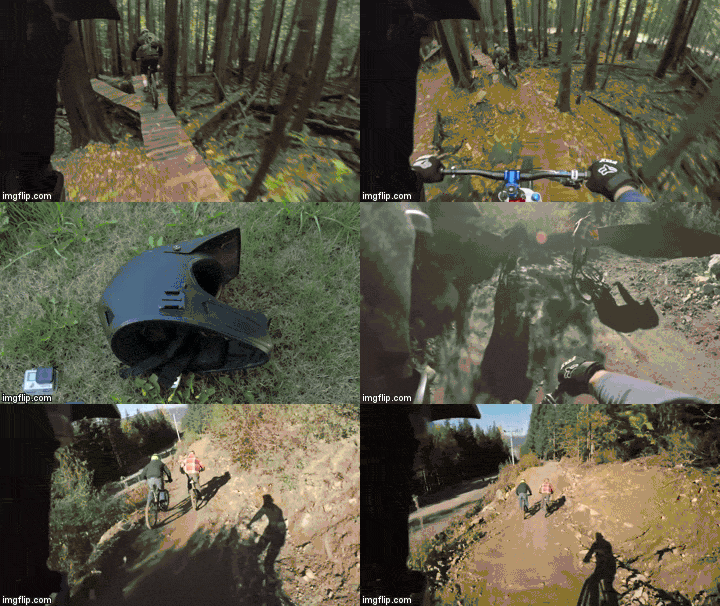
You can switch it up by facing the camera towards the trail and then back at yourself.
Non-POV Camera Angles
As I mentioned before, adding a few non-POV shots to your MTB video can make for a better video overall.
This will require a little more creativity but can really pay off when your MTB videos look more professional.
To capture most of the shots below, I recommend buying a bendy tripod, as these can help you get your camera in just about any angle.
7. From Below –
One of the best non-POV camera angles for Mountain Biking is from below.
You’re probably already familiar with these shots from professional Mountain Bike videos, but they can really provide a rough and rugged look to your videos.
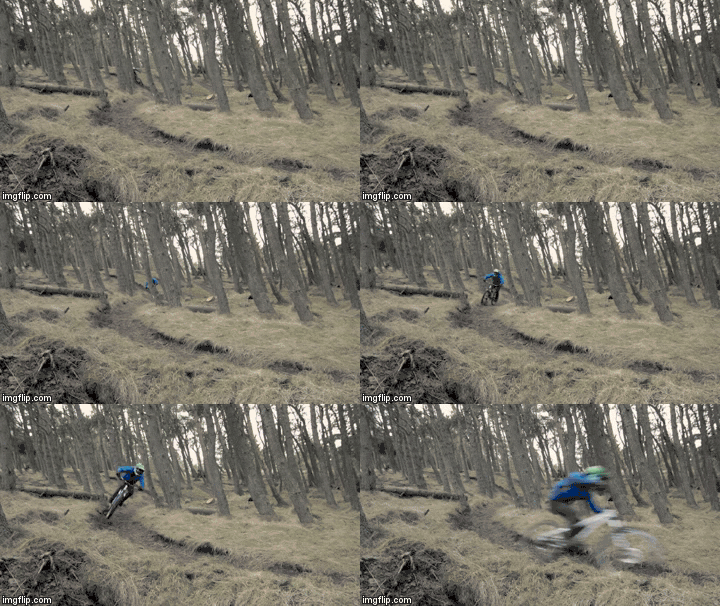
This is just one angle, however, you can really play with this and get creative.
8. From Up High –
This next one can be hard without a drone but is totally possible with a bendy tripod and a tree.
Attach your camera to a tree and get a good level camera angle for your footage.
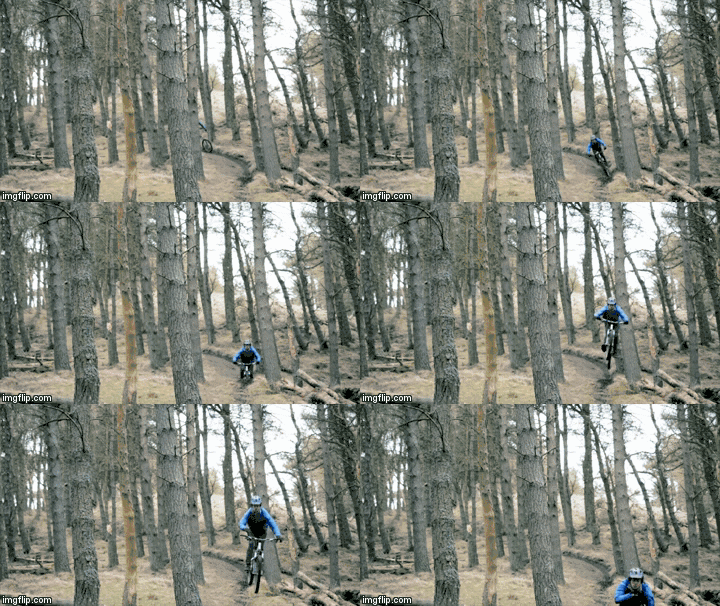
Although this seems like a tough angle, you will get your best shots from a little high up.
9. From Far Away –
If you have a camera with a wide-angle lens or zoom, getting shots from further away can provide a more cinematic shot of you and the trail.
Again, this will take a little creativity, but the rewards are great. Just check out the video below where they use this camera angle:
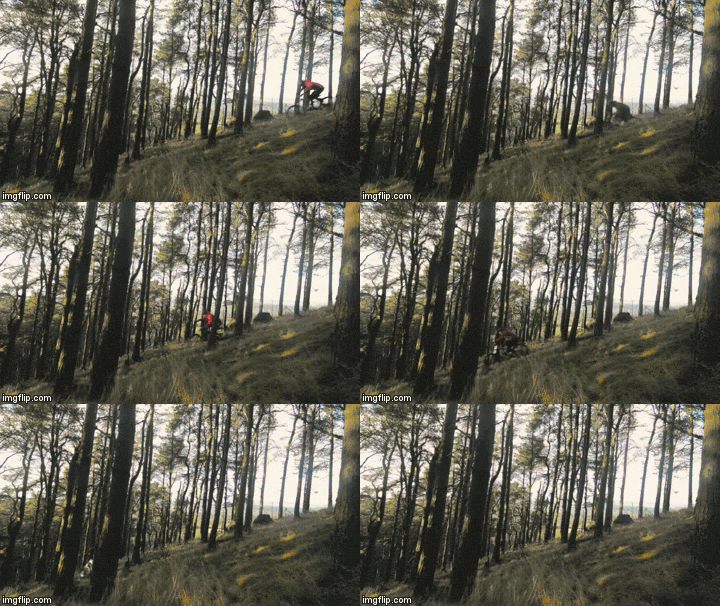
This works great with the wide-angle lens of the GoPro or the zoom on a smartphone. If you’re worried about having the right camera gear, check out this article on what it takes to film an MTB video.
10. From Up Close –
Bringing things back in, you can get a good camera angle from up close too.
In fact, using two close camera angles together provides a good entry and exit shot for Mountain Bike videos. Check out how the rider below used close camera angles for one section of the trail:
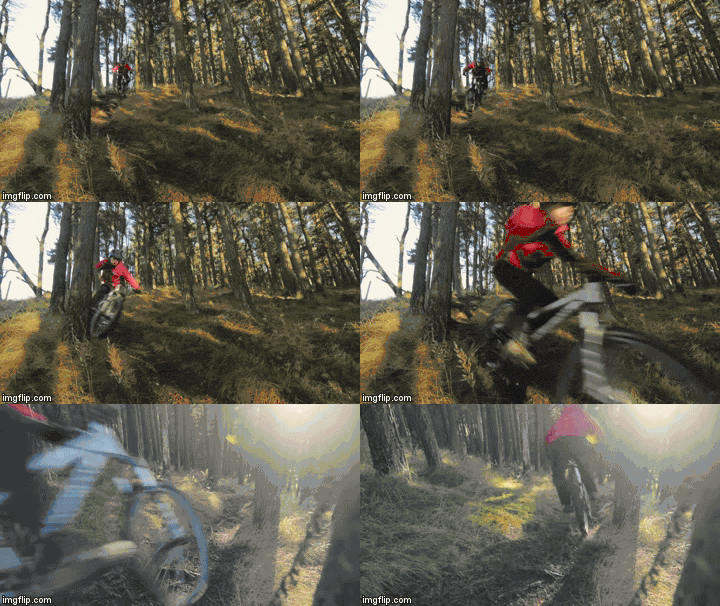
Taking a note from this camera angle, you should always try to use different camera angles in conjunction with each other. This provides a more dynamic video overall.
Conclusion
In conclusion, there are many different ways to get a good camera angle when you’re Mountain Biking.
Whether you’re filming yourself or a fellow rider, try to switch it up from the usual POV and add a few non-POV shots so you can have those cinematic shots you always wanted.
